Licence proof playbook #9: Lenstracer proof steps
Stock image licence disputes rarely announce themselves in advance. A client emails you eight months after a project wraps, asking for proof that a specific hero image was properly licensed. You know you paid for it, but the receipt is buried somewhere between three platform dashboards and a forgotten email thread. Lenstracer offers a structured proof-step workflow that traces each asset back to its licence origin, and this guide walks you through every stage of that process.

Stock image licence disputes rarely announce themselves in advance. A client emails you eight months after a project wraps, asking for proof that a specific hero image was properly licensed. You know you paid for it, but the receipt is buried somewhere between three platform dashboards and a forgotten email thread. Lenstracer offers a structured proof-step workflow that traces each asset back to its licence origin, and this guide walks you through every stage of that process.
Photo by Gustavo Fring from Pexels
TL;DR:- Lenstracer proof steps create a verifiable chain from downloaded asset to licence certificate, giving you audit-ready documentation.
- The workflow covers five stages: asset identification, licence retrieval, metadata tagging, proof bundling, and archive storage.
- Following these steps cuts licence-lookup time from hours to minutes and protects you against copyright claims.
Why licence proof steps matter now
Copyright enforcement has shifted from occasional takedown notices to automated detection at scale. Platforms like Meta, YouTube, and Amazon use content-matching algorithms that flag images within hours of upload. When a flag hits, you need proof fast. Not next week, not after digging through old emails. Right now.
Freelance designers juggling Freepik, Adobe Stock, and Envato subscriptions face a specific version of this problem. Each platform stores licence records differently. Some offer downloadable PDFs. Others bury the information behind five clicks in account settings. A structured proof-step approach eliminates the guesswork by standardizing how you capture, tag, and store licence evidence regardless of the source platform.
The concept behind Lenstracer proof steps borrows from cryptographic verification principles. Each step in the chain must be independently verifiable, and the entire sequence must hold together under scrutiny.
"If Alice successfully convinces Bob, then she must know the secret key a.">, Zero Knowledge Proofs: An illustrated primer, Part 2
Applied to licence proof, this means your documentation chain must be convincing enough that any third party (a client, a lawyer, a platform reviewer) can verify your licence claim without needing access to your account.
Common mistakes that break proof chains

Most freelancers make the same handful of errors when trying to document their licences. Recognizing these patterns saves you from building a proof archive that falls apart when tested.
- Saving only the invoice. An invoice proves you paid money. It does not prove which specific asset was covered, what licence tier applies, or whether the licence permits the specific use case in question.
- Renaming files without preserving original identifiers. Stock platforms assign unique asset IDs. When you rename
shutterstock_1234567890.jpgtohero-banner-final.jpg, you sever the link between the file on your drive and the licence record on the platform. - Relying on browser bookmarks. Platform URLs change. Account pages get restructured. A bookmark to your Freepik download history from 2024 might return a 404 by 2026.
- Mixing personal and client project assets. Without clear project-level tagging, you cannot prove which licence covers which deliverable.
- Skipping the timestamp. A licence certificate without a download date or purchase date leaves a gap that opposing counsel will exploit.
That number is low. Most designers have partial records at best. The Lenstracer proof-step workflow exists to close that gap systematically.
The five Lenstracer proof steps
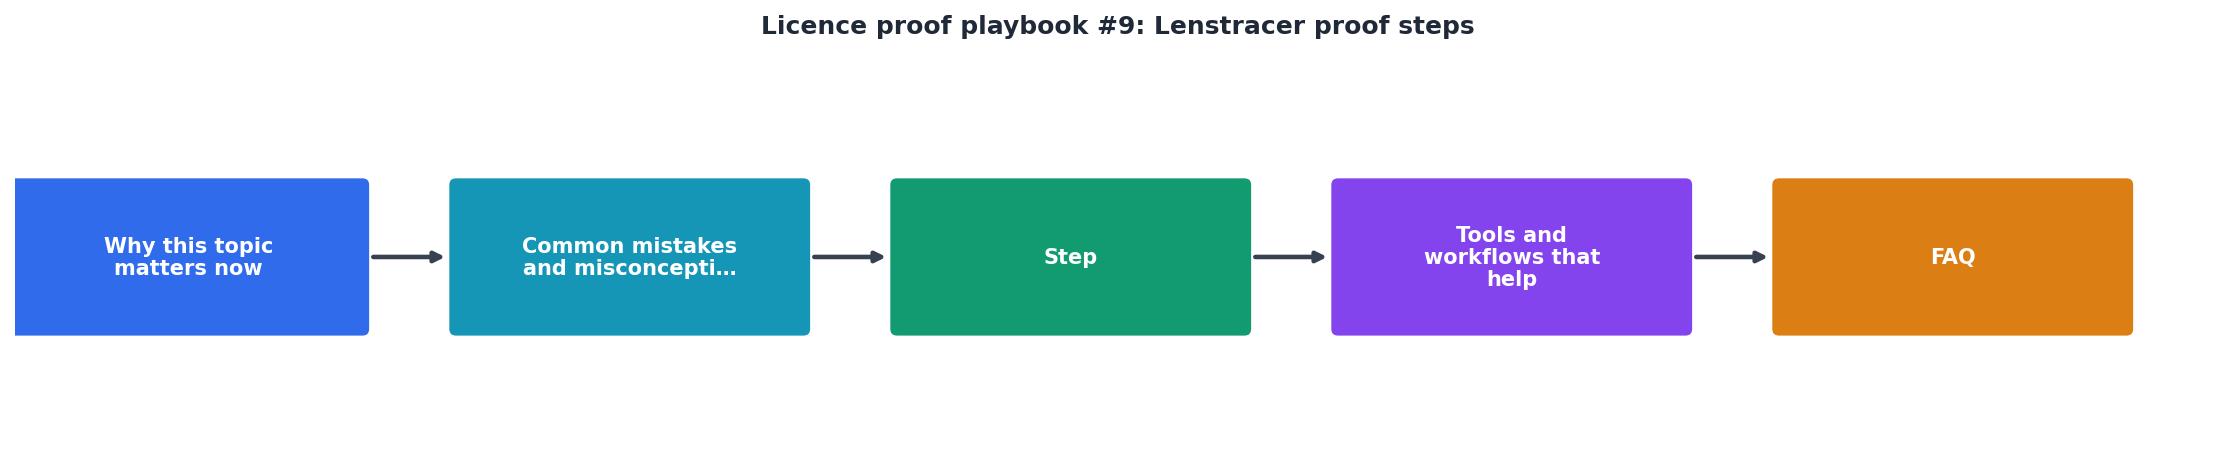
Each step builds on the previous one. Skip a step and the chain weakens. Here is the full sequence with concrete actions for each stage.
Step 1: Asset identification
Start with the asset itself. Every stock image, vector, or video clip has a platform asset ID. For Shutterstock, this is the numeric ID in the URL. For Adobe Stock, it appears in the file details panel. For Freepik, check the download confirmation page.
Record these three data points for every asset you download:- Platform name (e.g., Adobe Stock)
- Asset ID (e.g.,
ADB-389201456) - Original filename as downloaded
Step 2: Licence retrieval
Go to the platform and download the actual licence certificate or licence confirmation. On Shutterstock, navigate to Download History and export the CSV. On Adobe Stock, open the Licence History section. On Envato Elements, find the licence certificate PDF for each item.
This is the step where tools like licencedownloader.com save serious time. Instead of logging into each platform individually and clicking through menus, you can bulk-retrieve licence certificates across multiple platforms in one session.
Step 3: Metadata tagging
Attach metadata to each licence record that ties it to a specific project and client. At minimum, tag each record with:- Client name or project code
- Usage context (website hero, social media ad, print brochure)
- Licence tier (standard, extended, editorial-only)
- Date of first use
Step 4: Proof bundling
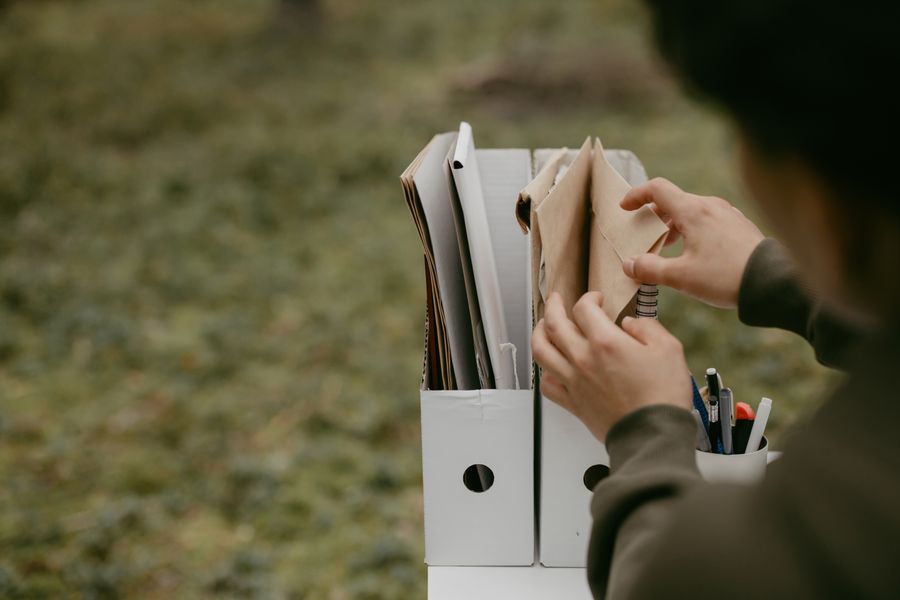
- The licence certificate PDF (or screenshot with URL and date visible)
- The invoice or payment confirmation
- The metadata tag sheet
- A thumbnail of the asset for visual reference
[ClientName]_[ProjectCode]_[Date]. Example: AcmeCorp_BrandRefresh_2026-08.
Step 5: Archive storage
Store proof bundles in at least two locations. A cloud drive (Google Drive, Dropbox, OneDrive) plus a local backup. Set folder permissions so that bundles cannot be accidentally deleted or modified.
For extra protection, generate a hash checksum of each bundle folder. This creates a fingerprint that proves the contents have not been altered since the archive date. On Windows, run certutil -hashfile bundle.zip SHA256 in the command line. On Mac/Linux, use sha256sum.
Here is an example dashboard showing what a complete proof archive looks like for a typical freelancer managing three active client projects:
Lenstracer Proof Status
Tools and workflows that help

The five steps above work with any combination of tools. Here are concrete options for each stage:
| Manual Approach | Automated Approach |
|---|---|
| Log into each platform separately | Use Licence Downloader to bulk-retrieve certificates |
| Copy asset IDs into a spreadsheet by hand | Auto-extract IDs from download history exports |
| Rename and sort files manually | Script-based renaming with metadata preservation |
| Create proof bundles folder by folder | Batch-generate bundles with consistent naming |
| Run hash commands one file at a time | Automated checksum generation on archive |
Spreadsheet trackers work fine for freelancers handling under 50 assets per month. Google Sheets with a shared template gives you search, filter, and sort. Add columns for each of the five proof steps and mark completion with checkboxes.
Notion or Airtable databases scale better when you cross the 100-asset threshold. Create a relation between your Projects table and your Assets table. Each asset record links to its licence certificate file, its proof bundle, and its project context.
File naming conventions are the cheapest tool you have. Adopt one pattern and never deviate. A solid pattern: [Platform]_[AssetID]_[LicenceTier]_[ProjectCode].[ext]. Example: Shutterstock_1234567890_Standard_AcmeBrand.pdf.
Lenstracer Proof Steps Checklist
Your progress is saved automatically in your browser.
FAQ
Frequently Asked Questions
What step in your current licence documentation workflow breaks down most often? Share your experience so others can learn from it.
Additional Resources
- Driver Guide - Missouri Department of Revenue - Consider the instruction permit as Step One, the intermediate license as Step Two, and the full (Under 21) driver license as Step Three.
- Zero Knowledge Proofs: An illustrated primer, Part 2 - To prove soundness for a proof of knowledge, we must show that an Extractor exists for every possible Prover. First, output some initial g^{k_1 ...
- What You Need for Online Notarization - This article walks you through everything you need to get started, covering mandatory identity verification steps as well as the technical ...
Need to Download Your Licences?
Save hours of manual work. We download all your stock photo licence certificates for you.
Get Started“Thanks to LicenceDownloader.com, I was able to download more than 1,000 Freepik licences and receive them all at once via ZIP.”
Marlon Mainardy