Freepik certificate export steps before a deadline
A client emails you at 4 PM on a Friday asking for licence proof for every Freepik asset in the brand kit you delivered three months ago. Their legal team needs it by Monday morning. You know the certificates exist somewhere inside your Freepik account, but you have never actually exported a single one, and the dashboard has changed since you last looked. This guide walks you through every click, shortcut, and fallback so you can pull those certificates fast and never scramble like this again.

A client emails you at 4 PM on a Friday asking for licence proof for every Freepik asset in the brand kit you delivered three months ago. Their legal team needs it by Monday morning. You know the certificates exist somewhere inside your Freepik account, but you have never actually exported a single one, and the dashboard has changed since you last looked. This guide walks you through every click, shortcut, and fallback so you can pull those certificates fast and never scramble like this again.
Photo by Pavel Danilyuk from Pexels
TL;DR:- Log into Freepik, open your Downloads history, locate each asset, and use the licence certificate link (or invoice) to export a PDF proof of your licence.
- Organize exports by project folder and client name so you can retrieve them in seconds next time.
- For bulk exports across dozens or hundreds of assets, a tool like Licence Downloader saves hours of manual clicking.
Why licence proof matters before a deadline
Stock licence certificates are not just paperwork. They are your legal shield. When a client's legal department, an ad platform review team, or a marketplace compliance officer asks "prove you licensed this image," the only acceptable answer is a document that ties the asset to your paid account and its licence terms.
Freepik generates a licence certificate (sometimes called a "licence document" or "proof of licence") for every Premium asset you download under a paid subscription. The problem: Freepik does not email it to you automatically, and it does not appear in your regular invoice. You have to go find it yourself.
That statistic comes up repeatedly in conversations with freelancers. Most people know they paid for the asset. Very few can produce the certificate on demand. The gap between "I paid" and "here is the proof" is where copyright disputes get expensive.
Common mistakes that cost you time

Before jumping into the step-by-step, here are the traps that catch freelancers off guard:
- Confusing invoices with licence certificates. Your Freepik payment invoice proves you paid for a subscription. It does not prove which specific assets you downloaded or what licence terms apply to each one. Clients and lawyers want the per-asset certificate.
- Assuming free assets need no proof. Freepik's free tier still has attribution requirements. If you used a free asset commercially without attribution, you need to show the licence terms to prove your usage was compliant, or fix the attribution before the deadline.
- Letting the download history grow unchecked. Freepik's download history page loads in batches. If you have 500+ downloads, scrolling to find a specific asset from eight months ago takes forever.
- Relying on browser bookmarks or screenshots. A screenshot of a download page is not a certificate. It can be edited, it lacks metadata, and most legal teams reject it.
Step-by-step: export certificates manually

Here is the exact process, current as of mid-2026. Freepik updates its UI periodically, but the core path has stayed consistent.
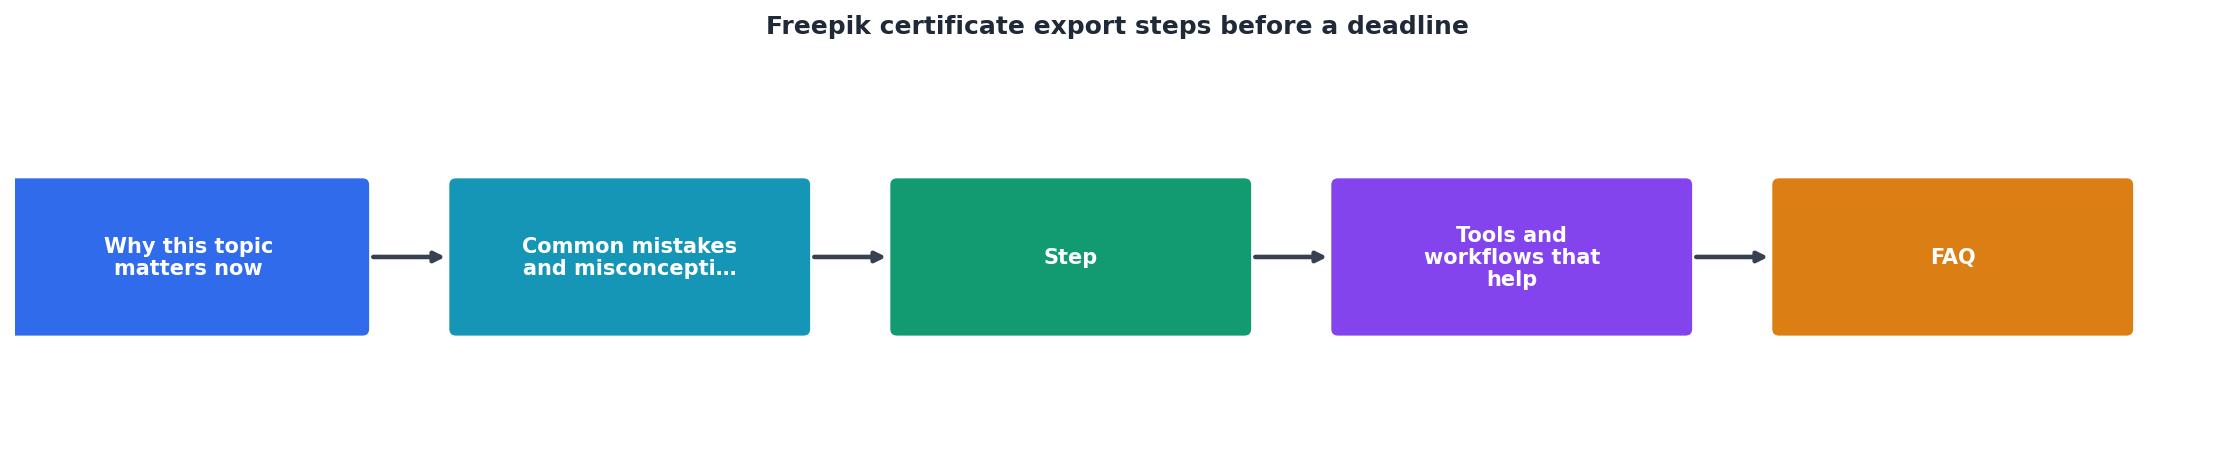
1. Log in and open Downloads
Go to freepik.com and sign in with the account that holds your Premium subscription. Click your profile avatar in the top-right corner, then select My downloads (or navigate directly to freepik.com/profile/downloads).
2. Locate the target asset
Use the search/filter bar at the top of the downloads list. You can filter by date range, resource type (vector, photo, PSD, video), or scroll manually. If you know the asset's title or ID, type it into the search field.
3. Open the asset detail page
Click the thumbnail or title of the asset. This opens the resource page showing the preview, licence type, and download options.
4. Find the licence certificate link
On the asset detail page, look for a "Licence certificate" or "Download licence" link. For Premium assets, this typically appears below the download button or inside a "Licence info" expandable section. Click it.
5. Download the PDF
Freepik generates a PDF document containing:- The asset title and ID
- Your account email
- The licence type (Premium, free with attribution, etc.)
- The date of download
- Permitted and restricted uses
freepik-cert-[assetID]-[clientname].pdf.
6. Repeat or batch
For each additional asset, repeat steps 2 through 5. If you have more than ten assets to export, this manual process starts eating into billable hours fast.
That progress bar is not a typo. Manually exporting certificates for a large project is roughly 15% as efficient as using an automated tool. Each certificate takes 1-3 minutes of clicking, waiting, downloading, and renaming. Multiply that by 50 assets and you are looking at over two hours of repetitive work.
Tools and workflows that help

Bulk export with Licence Downloader
Licence Downloader connects to your Freepik account (and other platforms like Shutterstock, Adobe Stock, Envato, iStock, and Canva) and pulls all your licence certificates in bulk. Instead of clicking through each asset one by one, you get a batch of organized PDFs in minutes. This is especially useful when:- A client requests proof for an entire project with 20-100 assets
- You are preparing for a compliance audit
- You are offboarding from a subscription and want to archive everything before access expires
Organize by project and client
Whether you export manually or use a tool, the filing system matters. Create a folder structure like this:
/licences
  /client-name
    /project-name
      freepik-cert-12345678.pdf
      freepik-cert-87654321.pdf
      shutterstock-cert-99887766.pdf
This structure lets you respond to any licence request in under a minute. Zip the project folder, attach it to an email, done.
Set a monthly export habit
The best time to export certificates is right after you download assets. The second-best time is on a recurring monthly schedule. Block 15 minutes on the last Friday of each month to export any new certificates. Future-you will be grateful.
Here is an example dashboard showing what a typical freelancer's licence collection looks like after adopting a monthly export habit:
Monthly Export Snapshot (Example)
| Manual Export | Bulk Tool Export |
|---|---|
| 1-3 min per certificate | Seconds per certificate |
| Requires active clicking | Runs in background |
| Easy to miss assets | Catches full download history |
| No consistent naming | Auto-named and organized |
| Free (costs your time) | Small subscription fee |
Pre-deadline emergency checklist
When the deadline is tomorrow and you have zero certificates exported, follow this triage list:
Freepik Certificate Export: Emergency Checklist
Your progress is saved automatically in your browser.
FAQ
Frequently Asked Questions
What does your current licence archiving workflow look like? If you have found a faster method for pulling Freepik certificates under pressure, share it in the comments below.
Additional Resources
- Master Freepik AI - Beginners guide (2026) - In this video I'll teach you how to use every single feature inside of Freepic.
- How to upload Id document on freepik | Tax residency ... - In this video, I want to show you, How to submit an ID document in freepik ... Tax residency certificate apply online: Vector file setup
- How to Prepare (EPS) Vector Files for Error-Free Uploads on ... - Get your vector designs Freepik-ready in minutes with this step-by-step Inkscape tutorial! mastering the exact export settings and file ...
Need to Download Your Licences?
Save hours of manual work. We download all your stock photo licence certificates for you.
Get Started“Thanks to LicenceDownloader.com, I was able to download more than 1,000 Freepik licences and receive them all at once via ZIP.”
Marlon Mainardy